
ARK: Survival Ascended Turret Tower Templates
A turret tower is a maths problem before it is a building. Coverage overlap, how many turrets a soaker can drain before the next tower answers, and whether the tower survives losing its bottom two layers all matter more than the silhouette.
These builds show their turret and structure counts up front, so you can compare a 92-turret heavy and Tek tower against a 2x2 auto turret post without guessing. Small anti-tank snap packs are here too, for plugging a gap rather than building a tower.
Remember what a template does not carry: turret settings, ammo, element, and power. Placement gives you the shell in seconds; wiring and configuring it is still the part that decides whether it holds.
Template pages publish official crafting costs with visible recipe coverage. Modded pieces and files still awaiting an exact breakdown remain clearly uncosted; their requirements are never estimated.
Defense templates
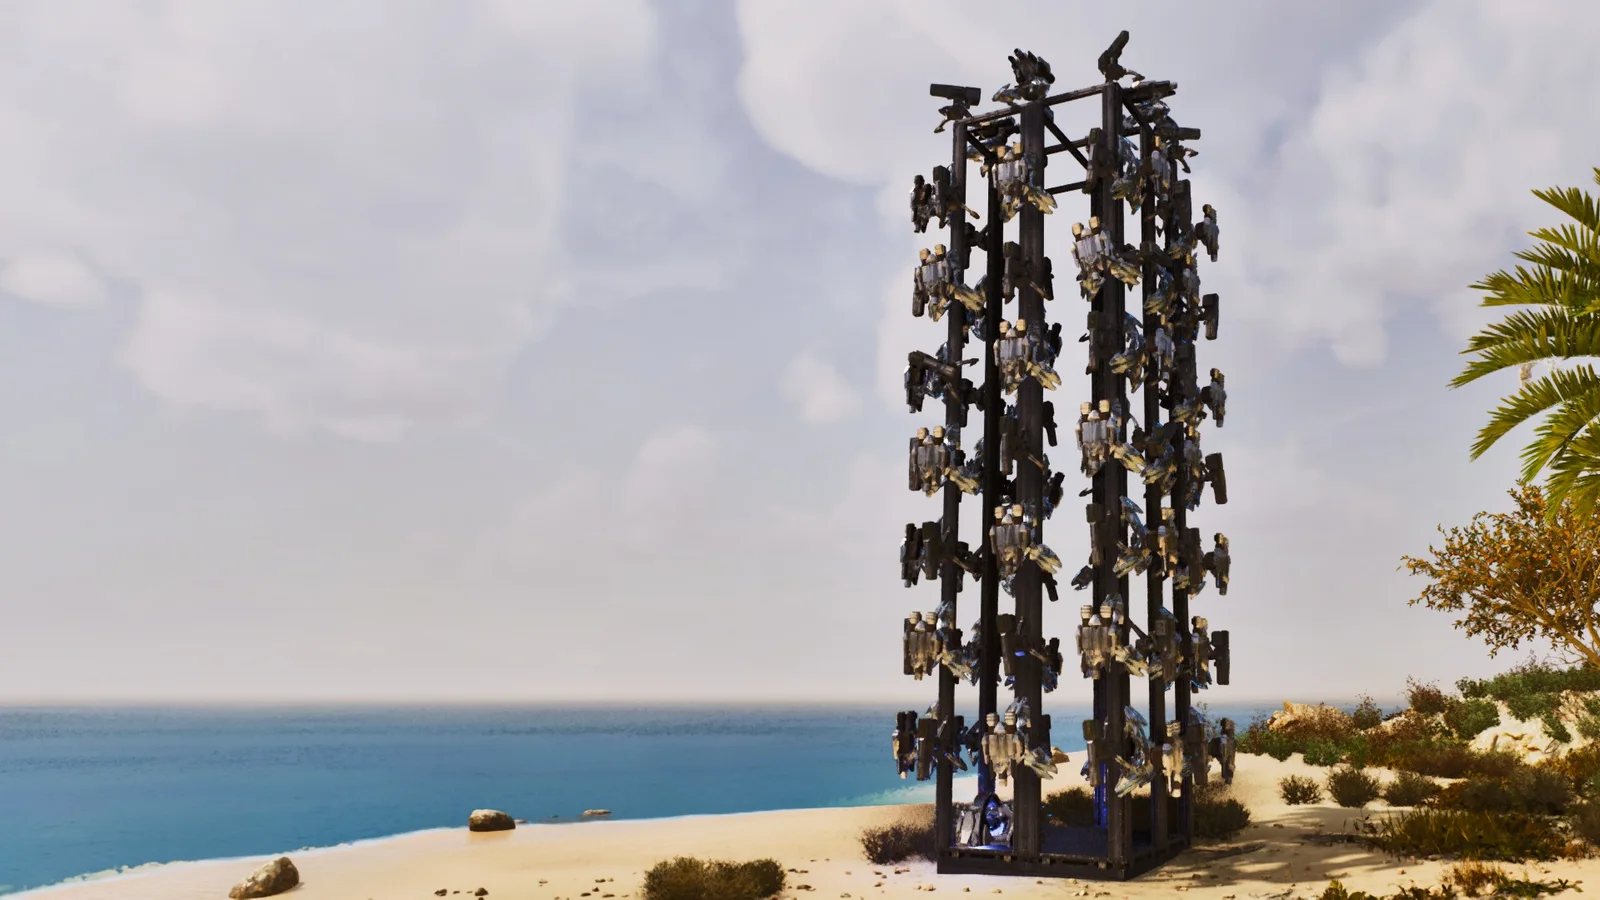
92-Turret Heavy & Tek Tower
A 173-structure turret tower packing 92 Heavy Auto Turrets and Tek Turrets into a single metal-and-Tek footprint, built for PvP offline-protection windows. Mixing the two tiers matters under a soak: they draw different ammunition, so a raider who brought only one counter still has the other tier firing. Fully vanilla - no DLC and no mods. Official crafting costs are shown with visible recipe coverage.
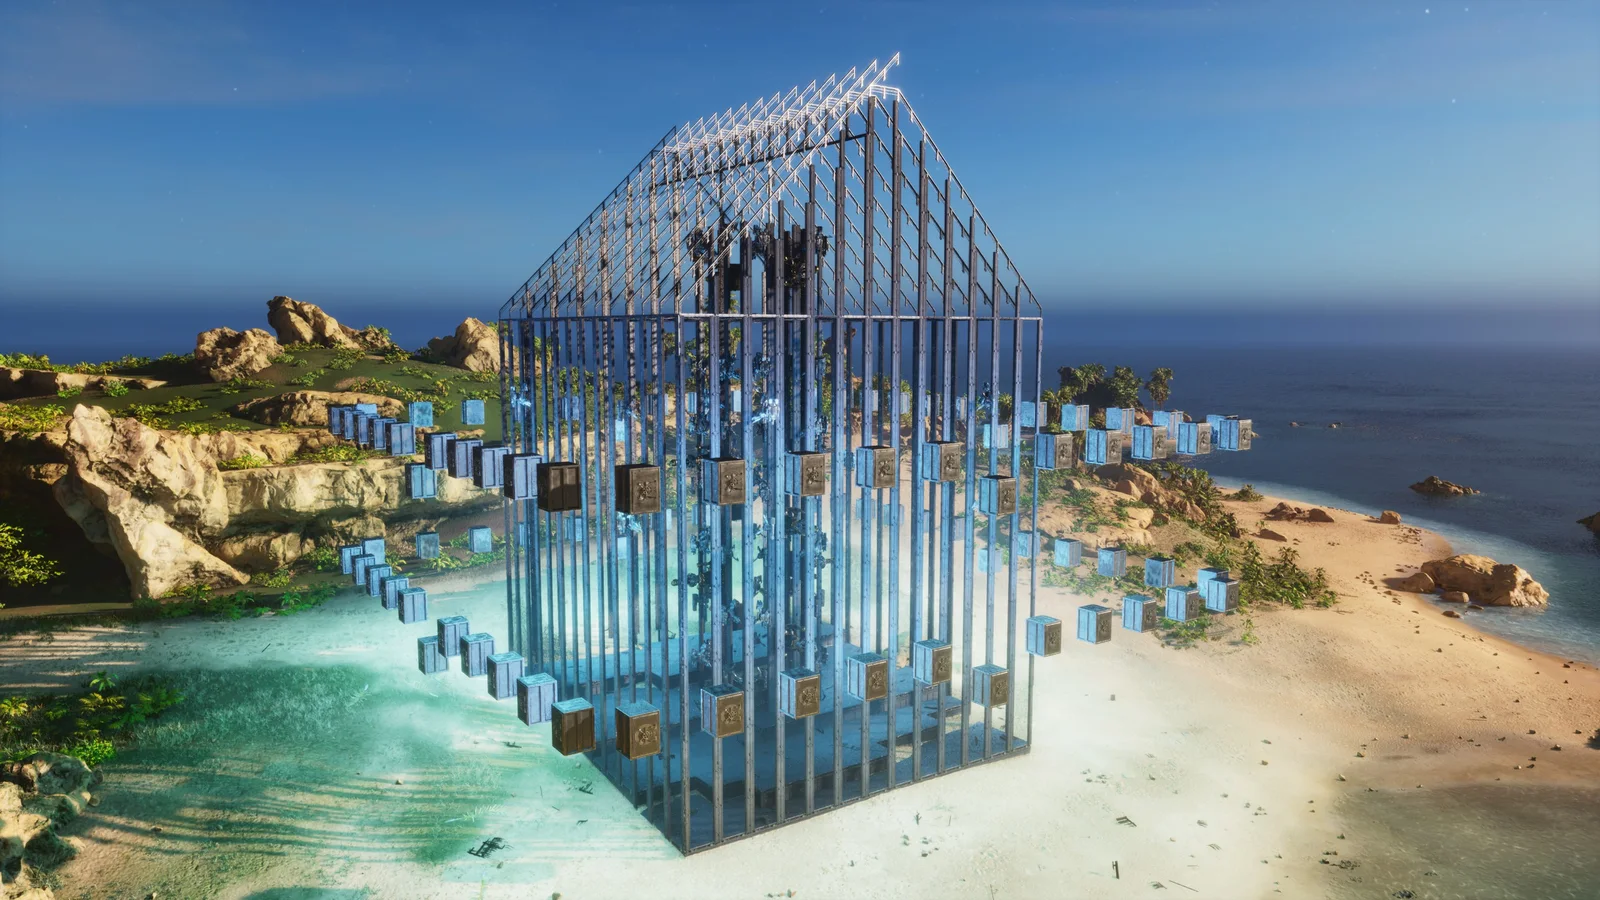
Christmas 13x13 Defense Base
A 1,913-structure 13x13 defensive base in metal and Tek with a seasonal exterior theme. The 13x13 footprint is the practical part: an odd-numbered square gives you a true centre tile for the vault core and symmetrical turret coverage on all four faces. Requires Bob's Tall Tales. At nearly 2,000 structures it will use most of a tile's allowance on official PvP settings.
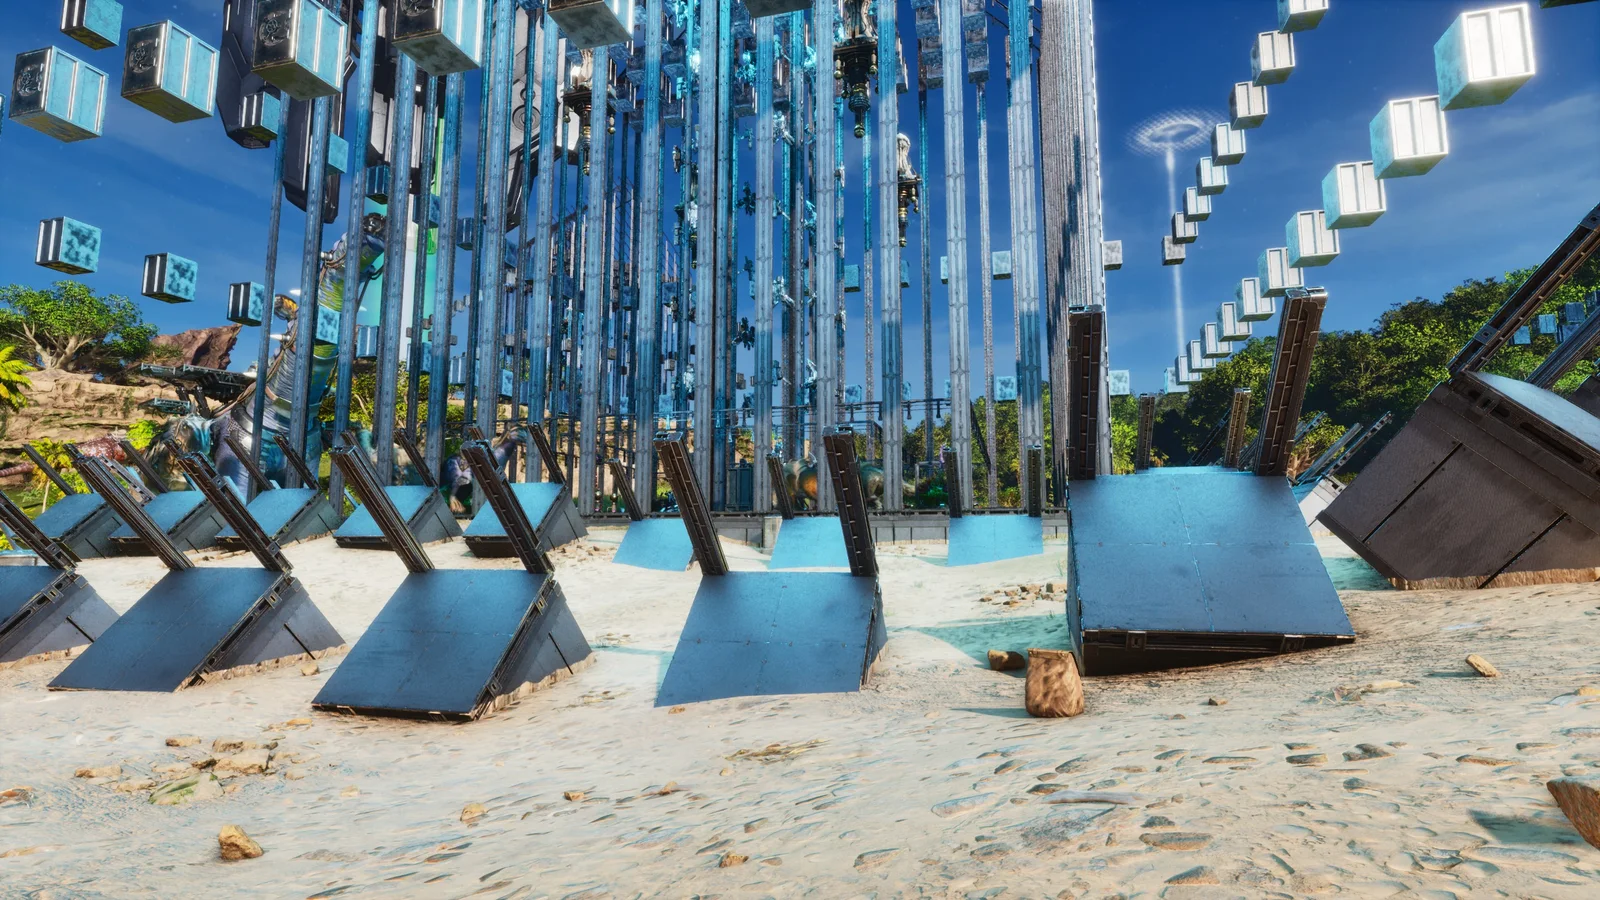
Anti-Tank Snap Pack
Three metal snapping variants - 29 structures across the set, 11 at the largest - for placing anti-tank obstacles in repeatable defensive patterns. They are alternatives, not parts: pick the one that snaps to the approach you are blocking. Repeatability is the value, since hand-placing obstacles at a consistent spacing is exactly what goes wrong under time pressure. Fully vanilla.
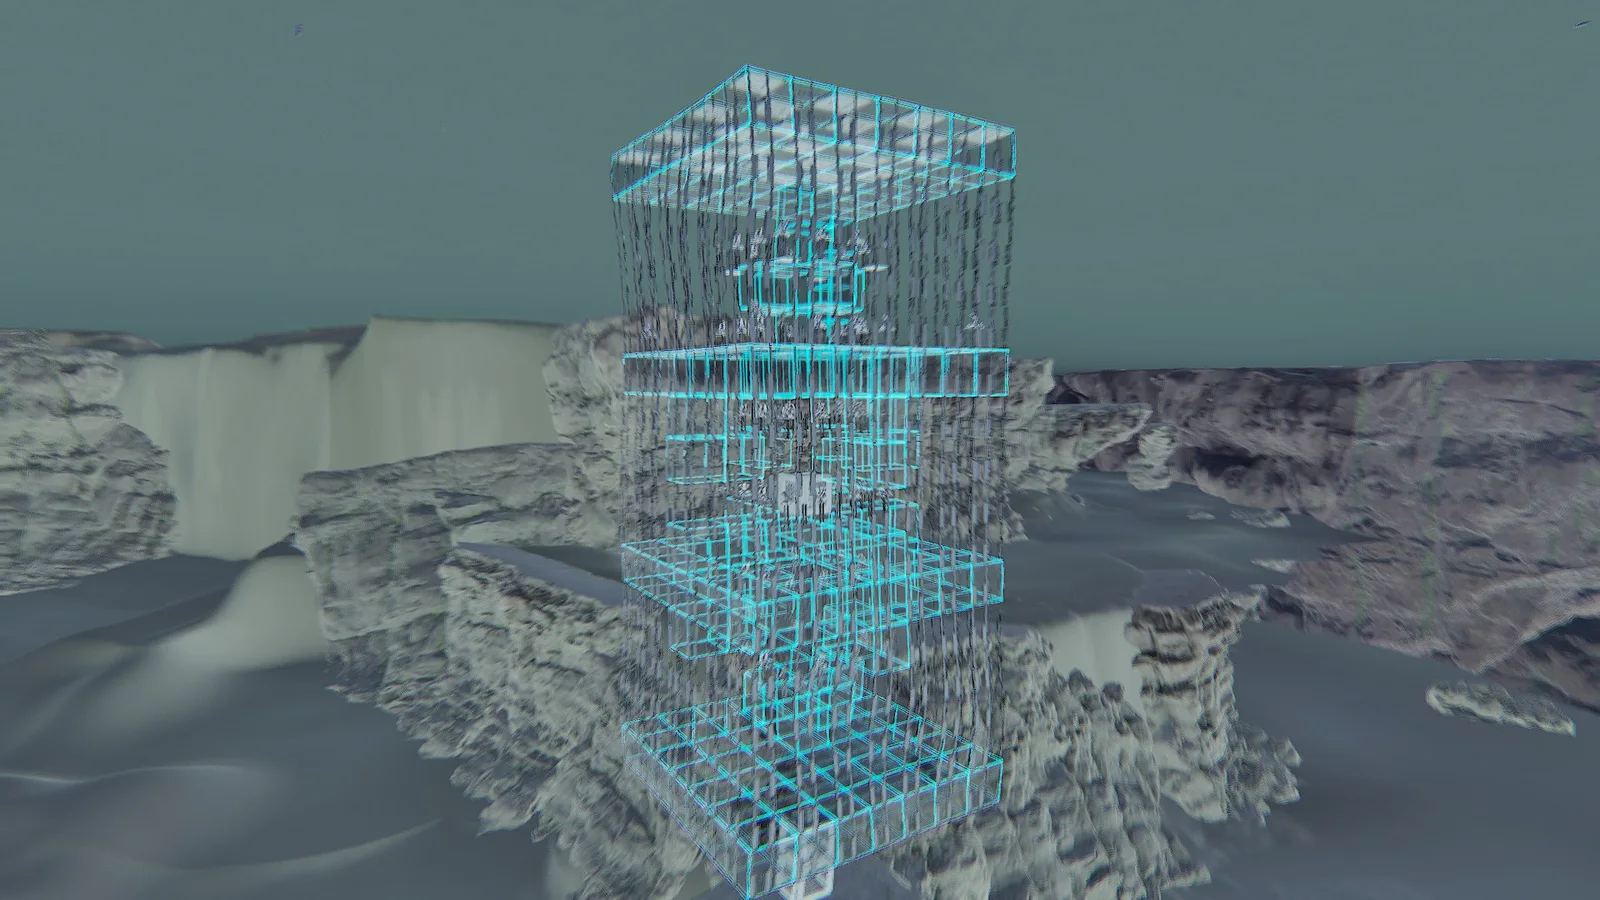
Underwater Turret Platform
A 1,684-structure underwater PvP platform shipped in two parts: the submerged base and the tower that snaps on top of it. Sixty-four Tek turrets sit in the design, and the bulk of the piece count is doubledoorframe and doorframe layering — the standard way of stacking hitboxes on a structure that cannot be approached on foot. Build your vacuum chambers to the height you want first, snap the base to the lowest one, then remove the chambers running to the seabed.
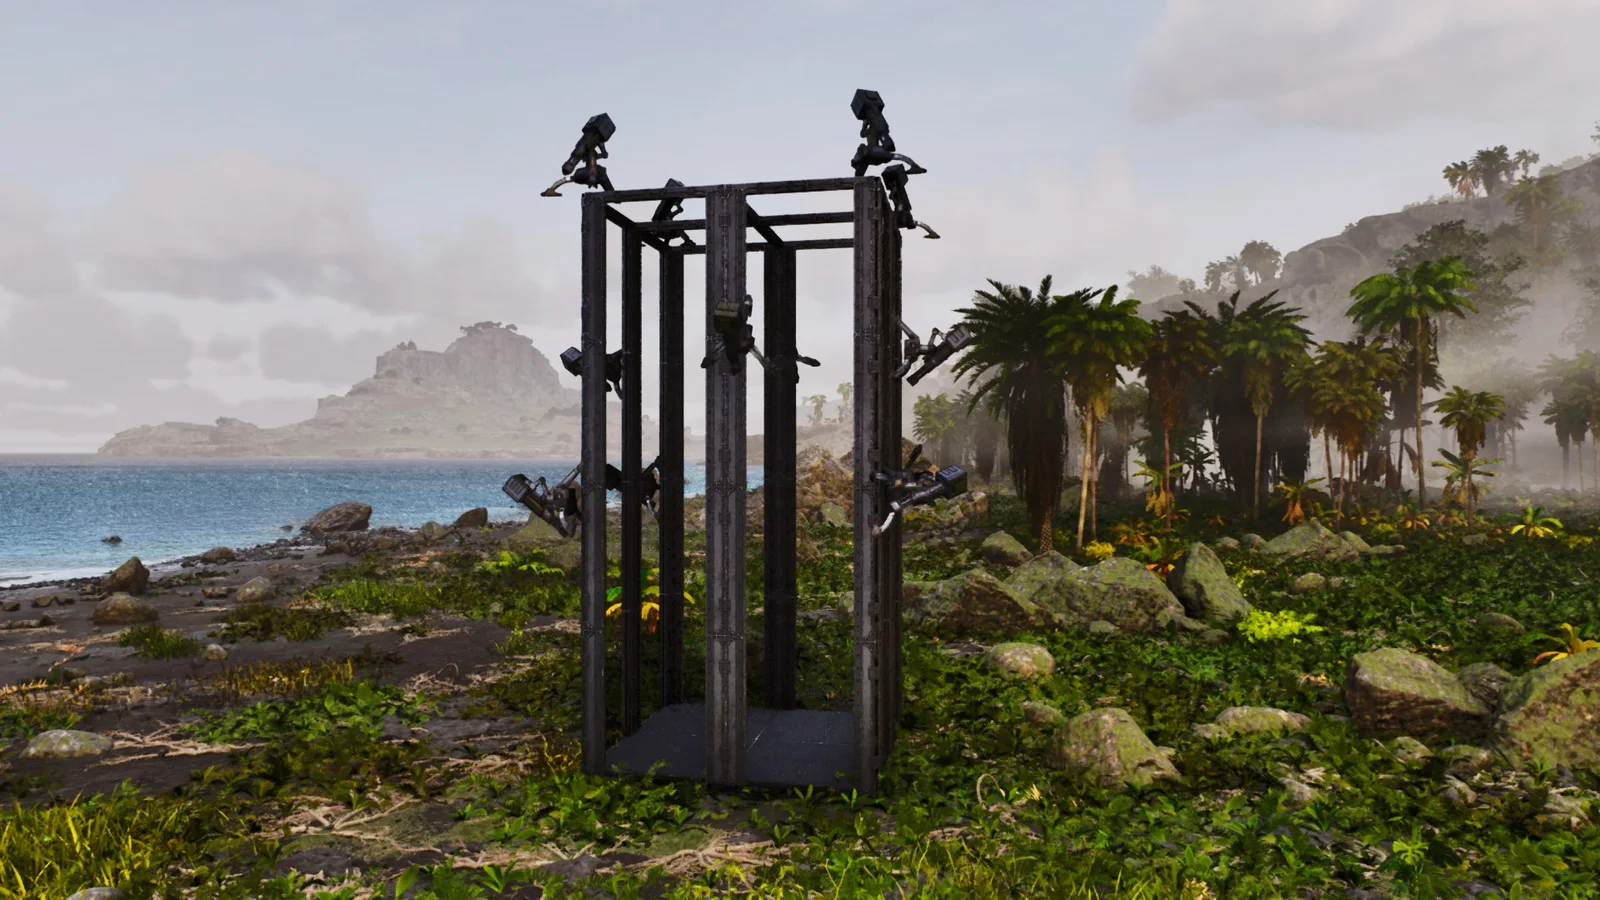
2×2 Auto Turret Tower
A 109-structure 2x2 auto turret tower using additional building cosmetics for its support structure. The 2x2 base plate is the practical part - it snaps onto a standard metal foundation grid, so it drops onto an existing compound without a rebuild. Requires the Arkitect's Paradise and Bamboo Building Cosmetics mods. Official crafting costs are shown with coverage gaps for modded pieces.
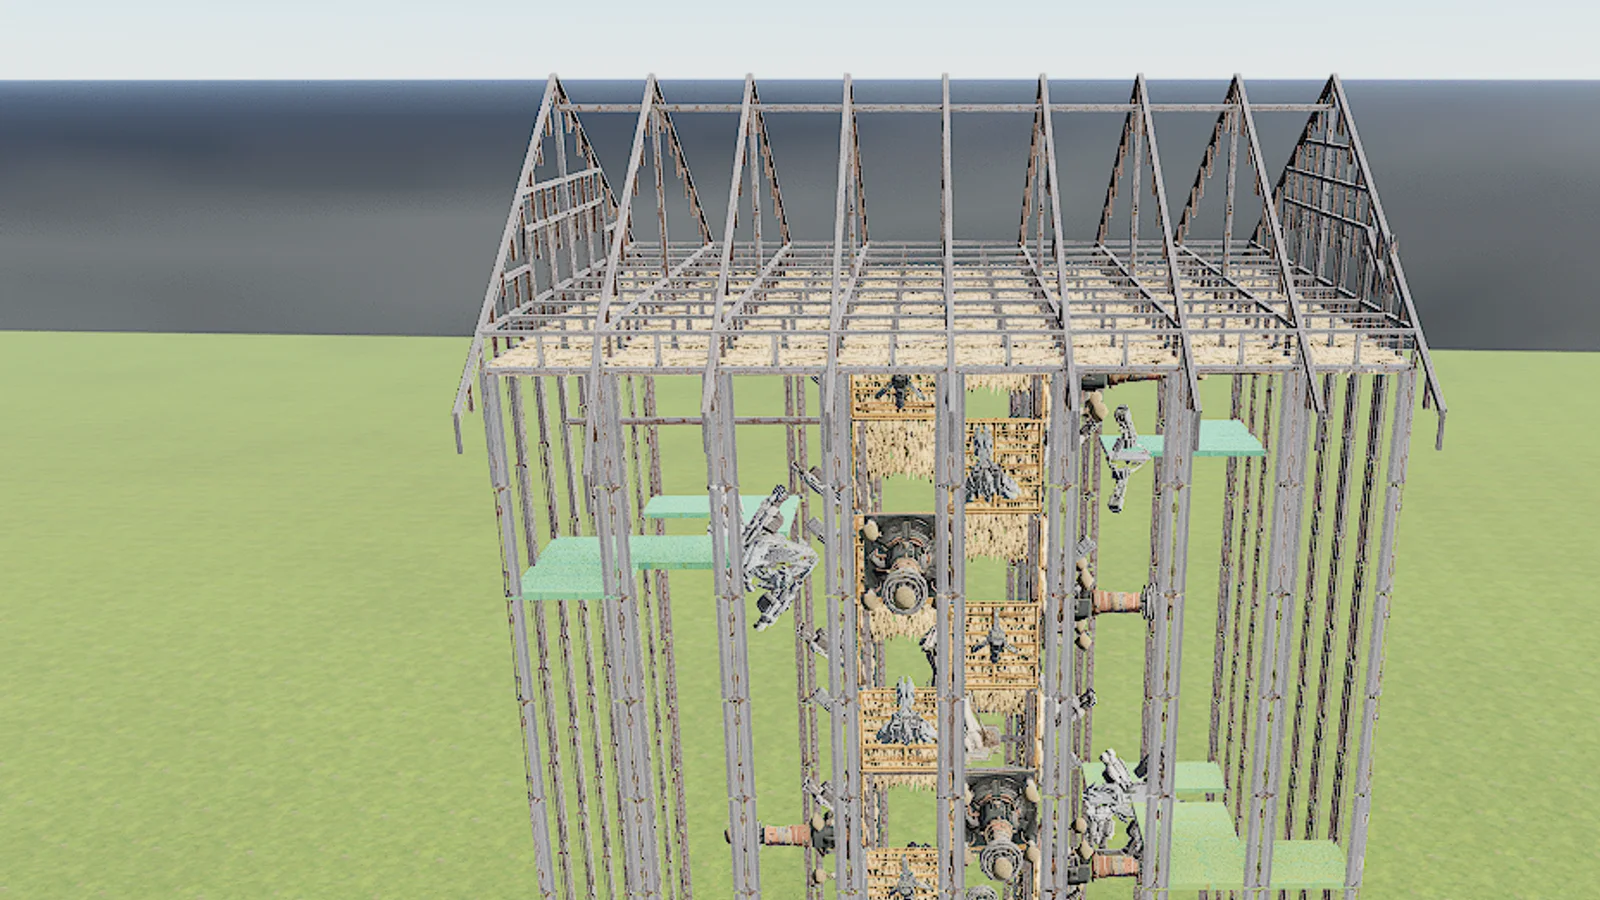
8x8 Starter Turret Tower
A 1,138-structure 8x8 PvP tower meant as a first real turret tower rather than an endgame one: metal railings and thin pillars over a doubledoorframe core, with a thatch layer doing the cheap sacrificial work. The footprint is small enough to hold under a per-tile structure cap while still giving turrets height. Requires Bob's Tall Tales.
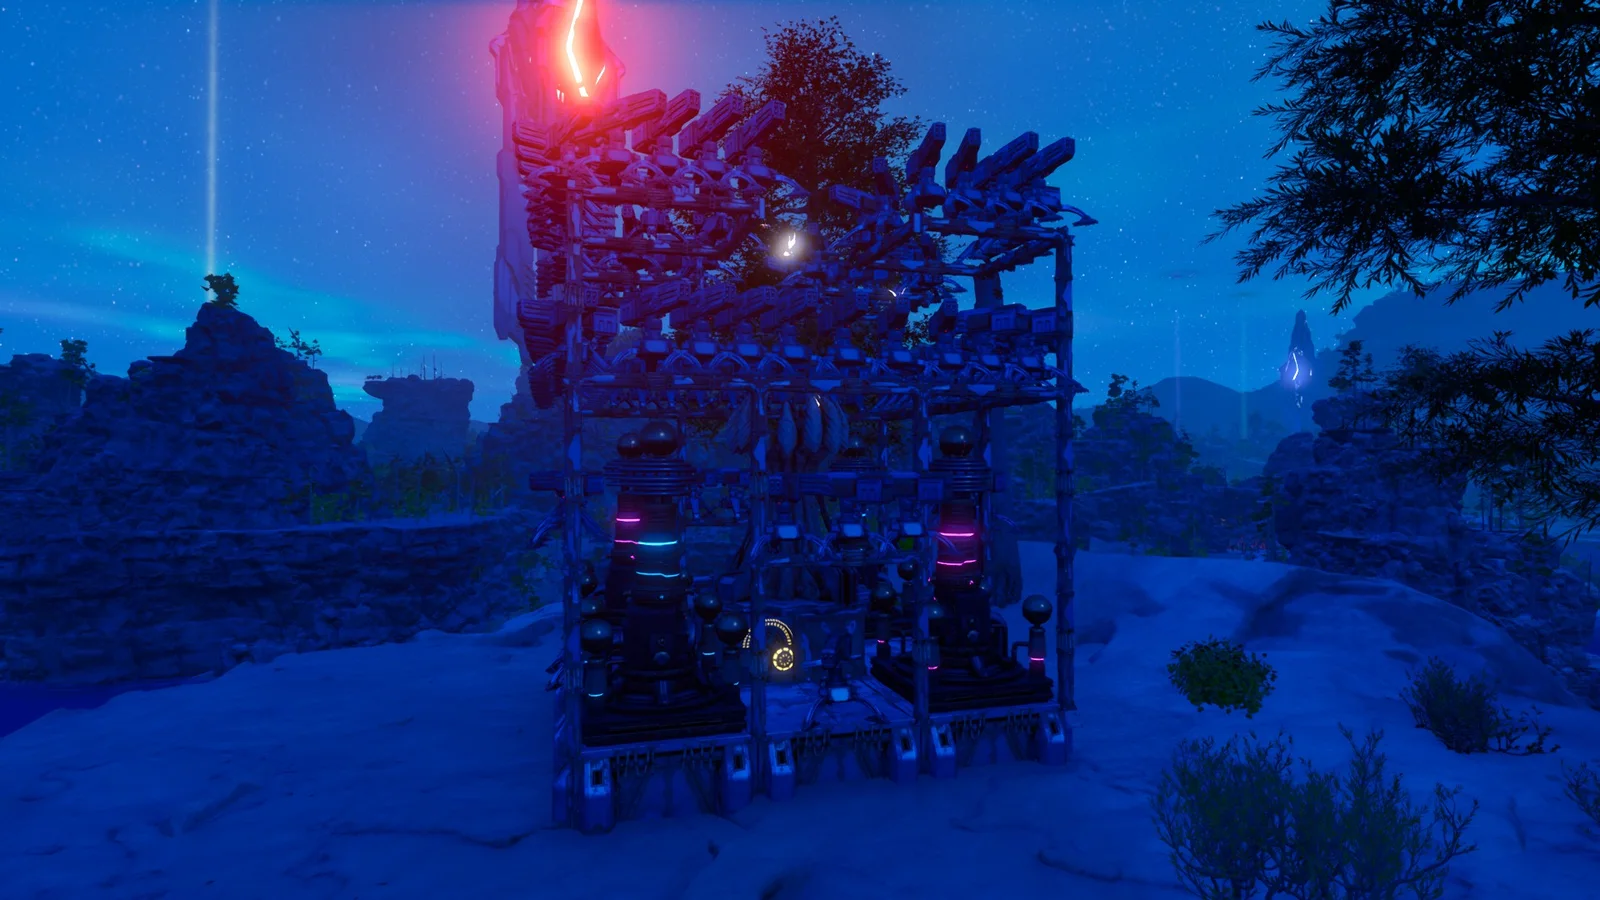
Simple Turret Tower
A 175-structure defensive turret tower in metal and Tek, shipped as a native Template Hammer file for one-shot placement. Simple is the selling point: no variants to reconcile, just a tower that goes up in a single import when you need coverage on a new tile quickly. Requires Bob's Tall Tales. Official crafting costs are shown with visible recipe coverage.
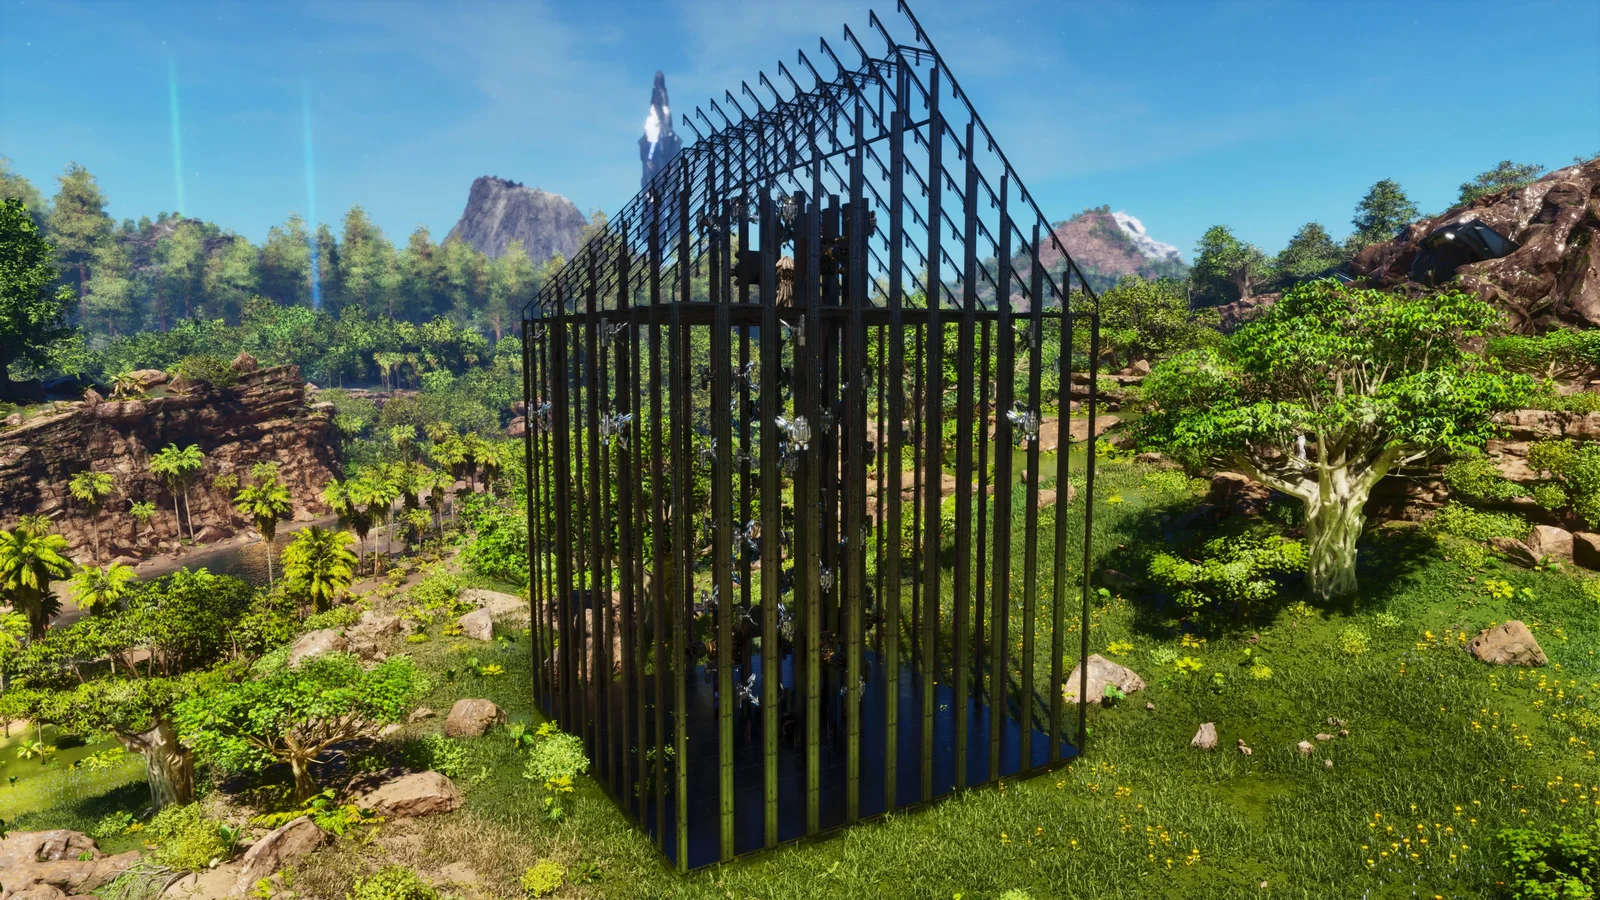
Sloped Metal Turret Tower
A 1,236-structure PvP turret tower built around sloped railing work rather than a plain box, which changes how projectiles land on the face of it. Doubledoorframes and thin flat pillars carry most of the piece count, with a thatch shell used as cheap sacrificial layering. Requires Bob's Tall Tales — without the pack loaded the import will be missing pieces.
Common questions
How many turrets do these towers hold?
It varies from two to over ninety. Each template page lists the exact structure and unique-piece counts, and the piece breakdown shows how many turret frames the build actually contains.
Do turrets come loaded?
No. Template Hammer places the structures only. Turrets arrive empty and unset, so you supply ammo and configure ranges, targeting and whitelists yourself.
Are heavy turrets or auto turrets better here?
Heavies drain soakers faster but cost far more and are limited per tile on most servers. Several of these builds mix both deliberately — check the piece breakdown to see the split before importing.
Can I use these on a PvE server?
Yes, though the value is lower. On PvE they mostly serve as wild-dino defence and as a way to build a clean, snapped tower without measuring pillars by hand.
Related collections
- ARK: Survival Ascended PvP Base TemplatesValidated PvP base templates for ARK: Survival Ascended on PC. Turret coverage, layered walls and vault rooms, ready to import with Template Hammer.
- ARK: Survival Ascended Metal Base TemplatesMetal base templates for ARK: Survival Ascended on PC. Raid-relevant durability and validated files with an exact metal piece count.
- ARK: Survival Ascended Tek Base TemplatesTek base templates for ARK: Survival Ascended on PC. End-game builds with validated files and a full Tek structure breakdown.
- Small ARK: Survival Ascended Build TemplatesARK: Survival Ascended templates under 200 structures — traps, turret posts, vault blocks and storage modules you can place in one trip.
Guides worth reading first
Want a build placed, defended and handed over on your own server?
Ask in Discord