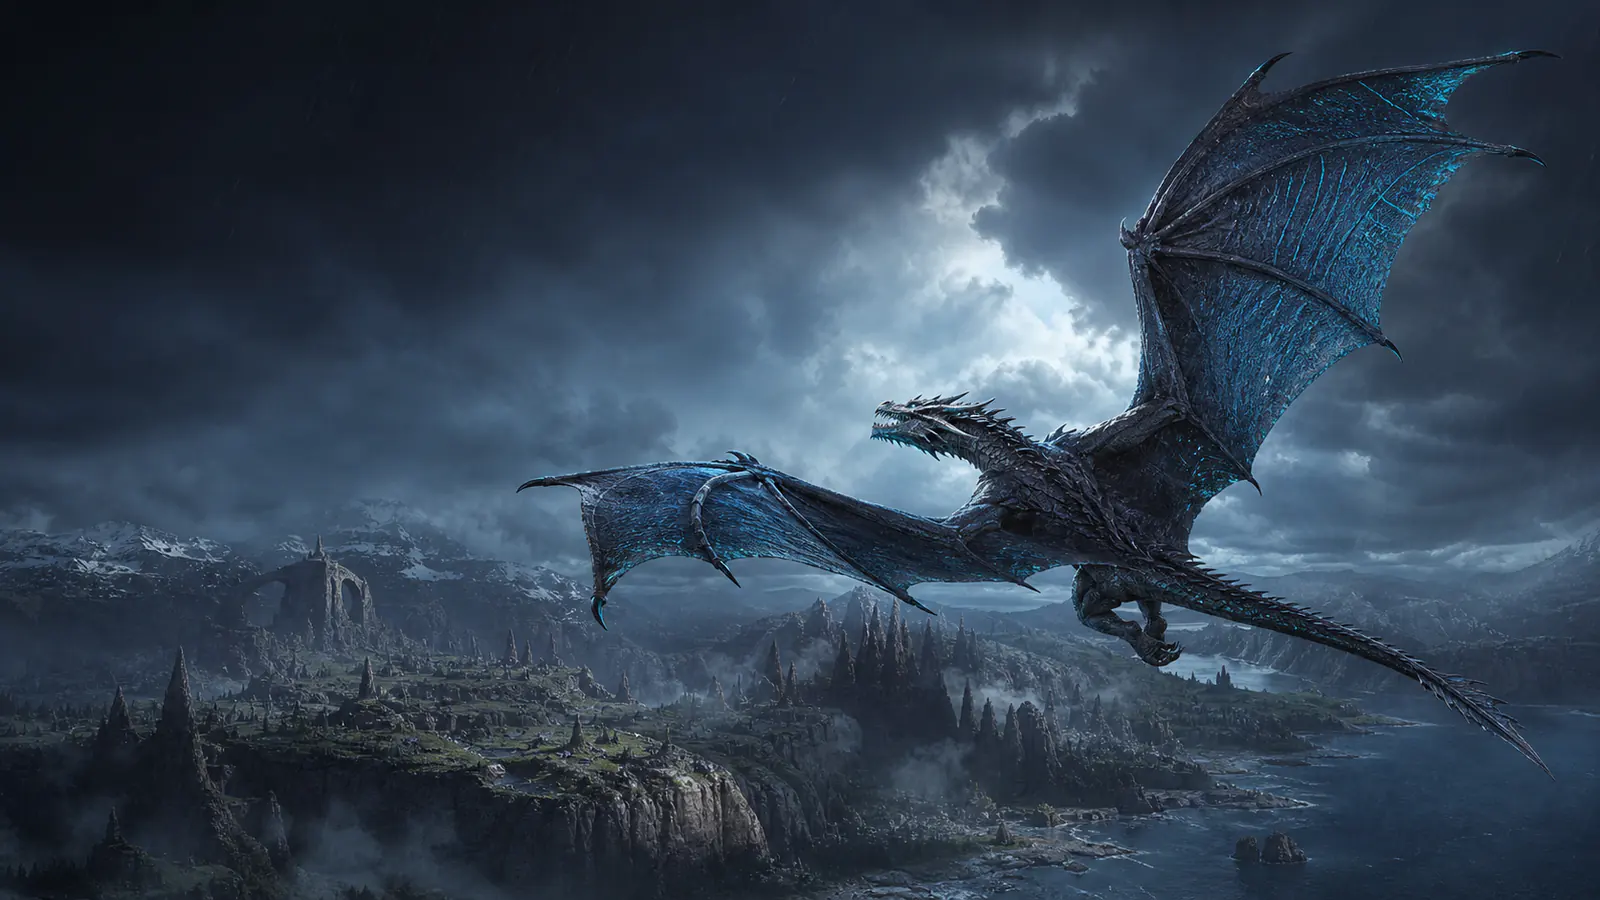
Ragnarok folds most of ARK's biomes into one huge map with free Fire, Poison, Lightning and Ice Wyverns, the exclusive Giant Bison, and no Leedsichthys which removes that particular raft threat; enemy players and other hazards can still destroy a raft. Start in the Highlands or Viking Bay, grab free metal tools from the Viking Bay beer crates, and farm the frozen dungeon crates and Viking Bay treasure chests for fast loot.
Ragnarok is the everything map. It packs jungles, a full Scorched Earth desert, a redwoods, a brutal snow biome and its own Wyvern trench into one huge world, adds free Wyverns and the exclusive Giant Bison, and - crucially - has no Leedsichthys, so rafts are actually viable. This guide covers the parts that get you moving fast: where to start, the early tames worth rushing, and the resource, loot and artifact locations that matter, with coordinates.
The map runs from the northwestern jungles (a safe starter) up through Viking Bay and the central lava biome, across to the northeastern Highlands, down into a massive Scorched Earth desert in the south, with a swamp to the west, the Central Canyon in the middle and a deadly snow biome at the core that ranges from -6 to -90 degrees.
Tip: Spawn at Viking Bay 1 and hit the washed-up wooden beer crates near 21.8/33.4 with a pickaxe - they hand you metal tools and weapons (crossbow, pike, swords) for the easiest possible start. The Highlands is the other strong start: dead whale carcasses along the beach give spoiled meat, hide, keratin and Oil, and Equus and Giant Bison are right there.
The Equus is the best starter tame - find one in the Highlands, put a rock carrot in your last slot and ride-tame it, then use it as a taming aid for Pteranodons and Bison. Tamed female Bison give Bison milk on a one-hour cooldown, which feeds baby Wyverns, substitutes for Wyvern milk and instantly matures a baby by 10% on imprint. From there, tame a Griffin (center of the map, bait into a trap): it needs no saddle, seats a passenger who can fire weapons, its dive attack hits up to ten times its melee, and it now breeds.
Frozen dungeon first section - five blue and yellow crates you can reach without the main cave, via 31/37.8 (fly-in) or the 31.3/33.7 waterfall. Flak, crossbows and longneck rifles.
Viking Bay treasure chest - at 22.1/33.6, needs level 80. Usually one item but very high quality; a known source of ascendant fabricated snipers and the rare gas mask blueprint. Respawns every ~45 minutes.
Desert drops - five spots in the south (around 79.7/51.9 and nearby), four active at a time, ~45-minute respawn.
Wyverns - the central lava-biome trench has free Fire, Poison and Lightning eggs; Ice Wyvern nests are most reliable at 46.3/52.6, 46.3/31.4 and the double-nest at 34/37.7.
Therizinosaurus - west side of the Central Canyon, below Alpha Pillar.
Thylacoleo and Spino - Thylacoleos spawn on the ground in the south; Spinos are common at the base of the Central Canyon.
Giant Queen Bee - the grassland at the base of the swamp castle spawns several at once, making a normally painful tame easy.
Shinehorn light pet - the memorial museum ruin at 63.6/44.3; claim the babies.
Tip: The Otter is the standout shoulder pet here - it stacks strong insulation for the cold, and it is the only creature that can carry more than one of the same artifact, which makes the four-artifact Life's Labyrinth cave far less painful.
Ragnarok's boss is a tough fight that summons Iceworm minions (roughly 10-15k health each) and, on Alpha, carries a 1.2 million health pool. Bring a Deinosuchus army for bleed damage, a Yutyrannus for the damage buff and a Daeodon for healing on the harder tiers; Therizinos and Pyromanes also work as damage dealers. Winning rewards Element, a trophy and Tekgrams - the same unlocks as the Manticore and Dragon, plus the Tek Sword, Tek Light and Tek Shield.
The main Wyvern trench in the central lava biome has Fire, Poison and Lightning eggs, and Ice Wyvern nests spawn reliably at 46.3/52.6, 46.3/31.4 and a double-nest at 34/37.7. The double-nest instantly respawns eggs if you park a strong killer nearby but not too close.
What is the best loot farm on Ragnarok?
The first section of the frozen dungeon (entrances at 31/37.8 and 31.3/33.7) has five blue and yellow crates you can grab without entering the main cave. The Viking Bay treasure chest at 22.1/33.6 needs level 80 but drops ascendant gear and rare gas mask blueprints, respawning every 45 minutes.
Is Ragnarok good for high-level tames?
Yes - it has the highest natural wild levels of any map and many DLC creatures spawn here, so it is the best place to find high-level Carcharodontosaurus and Gigas.
If the guide tells you the grind is bigger than the reward, the marketplace can turn that checklist into a private Discord ticket with availability confirmed before ordering, delivery timing and a clear quote.

 Metal
Metal Crystal (early)
 Oil Veins
 Black Pearls (early)
 Organic Polymer
 Silica Pearls
 Rare Mushrooms / Flowers
 Flint and Charcoal
 Frozen dungeon first section - five blue and yellow crates you can reach without the main cave, via 31/37.8 (fly-in) or the 31.3/33.7 waterfall. Flak, crossbows and longneck rifles.
 Viking Bay treasure chest - at 22.1/33.6, needs level 80. Usually one item but very high quality; a known source of ascendant fabricated snipers and the rare gas mask blueprint. Respawns every ~45 minutes.
 Wyverns - the central lava-biome trench has free Fire, Poison and Lightning eggs; Ice Wyvern nests are most reliable at 46.3/52.6, 46.3/31.4 and the double-nest at 34/37.7.
 Therizinosaurus - west side of the Central Canyon, below Alpha Pillar.
 Thylacoleo and Spino - Thylacoleos spawn on the ground in the south; Spinos are common at the base of the Central Canyon.